Posted in: Critical Role, Dungeons & Dragons, Games, Review, Tabletop, Wizards of the Coast | Tagged: critical role, d&d, DnD, dungeons & dragons, dungeons and dragons, Explorer's Guide To Wildemount, wizards of the coast, WotC
We Review Dungeons & Dragons: Explorer's Guide To Wildemount
It's been a minute since the Dungeons & Dragons team released the Critical Role-centric Explorer's Guide To Wildemount back in March. At the time, no one could have foreseen what the world would be going through (and as of when we're writing this, is still going through) with the COVID-19 pandemic. Right as the book came out, a lot of the country was thrown into panic mode as cities we're thrown into self-quarantine and a lot of in-person interaction was put on hold. Even the show this book is based on was put on hold for a few months until they could safely return. Needless to say, this basically put the kibosh on all of our in-person plans to hold an actual campaign set in Wildemount. Because rather than just flip through D&D's books, we like to test the product as well. After finally getting a couple of sessions in over Zoom and Discord, we're ready to give a proper review.
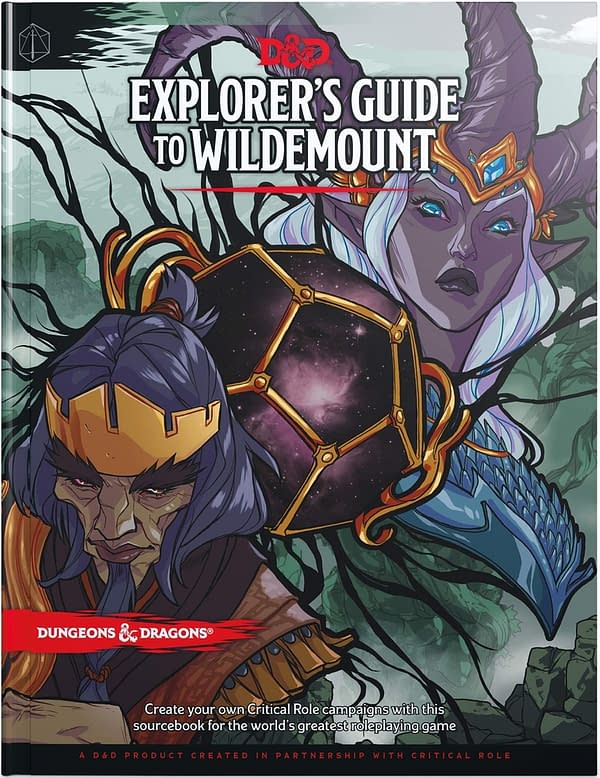
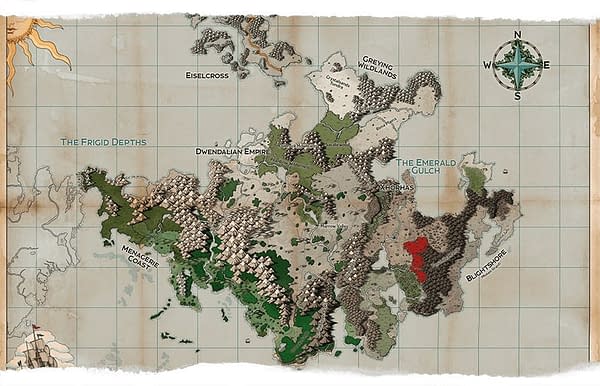
So let's get to the basics first. If you are a fan of the show, this is basically the biggest mental slice of chocolate cake you'll ever get. Shy of Matthew Mercer reading a book of lore to you. You are given what is essentially a tour guide to the continent of Wildemount. This includes both the major ruling bodies, the factions, the important locations, items out at sea, cities of defined greatness, wastelands, horrifying settings, and every other environment you could possibly encounter at all four corners. As you can see from the map below, there's a lot of territories to explore. However, and we must be clear about this in case the title didn't tip you off, its only focus is on Wildemount as this is where the current campaign setting is. If you want the first one and those ever precious names on the Tal'Dorei Council, you'll need to see out their first independently published book, Critical Role: Tal'Dorei Campaign Setting.
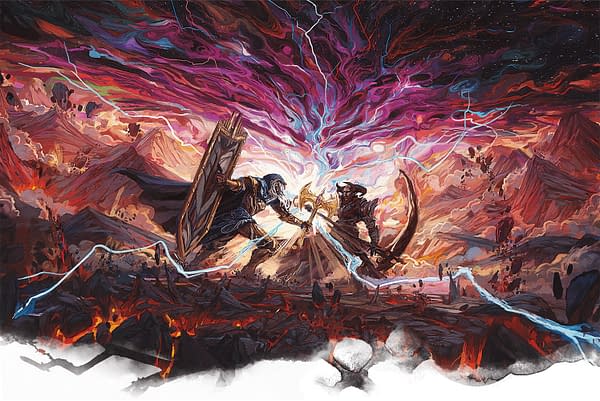
The first chapter of this book focuses on the story of the continent you're on. This is an awesome place to start as this is where the Final Battle of The Calamity happened that helped shape the world of Exandria in the current age its in. You get an idea of how things came to be as you learn about the Pantheon, the ruling gods and primary deities people worship, the set of betrayer gods that are basically the root of evil, and why things are the way they are. You're not given a complete theology lesson with a calendar, but you are given what is essentially the sophomore history book lesson of everything that took place. It's enough for you to utilize what you need with room to expand and improvise whatever else you'd like to add to it.
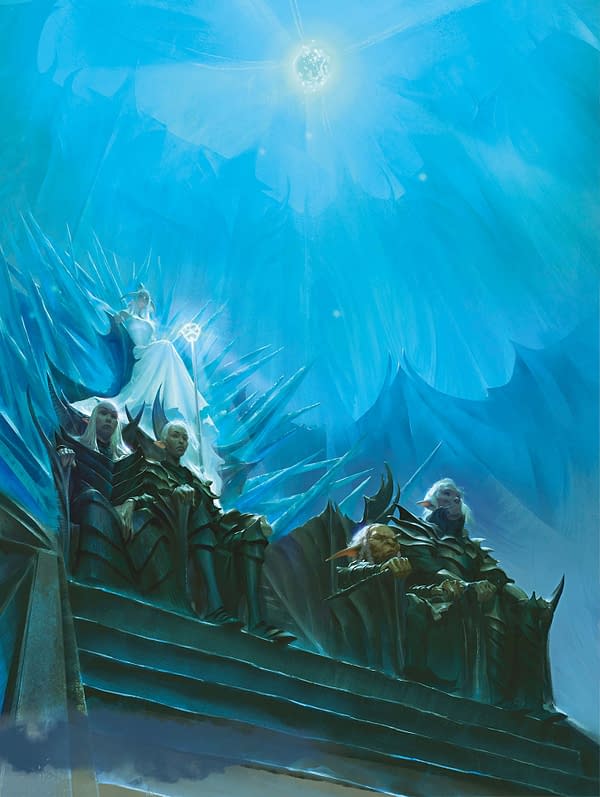
Because Wildemount obviously is such a weird and tangled area, there's a lot of different cities and factions to contend with. The team behind the book used the second chapter to give you as much information as they could to help define everyone you could possibly come in contact with. The two obvious ones are the Kryn Dynasty and the Dwendalian Empire, both of whom are the biggest pieces of the continent since they rule the biggest bodies. However, there are a number of smaller groups that operate both within and outside of their kingdoms. The Myriad, the Cobalt Soul, the Clovis Concord, and The Revelry are four of the smaller groups fans will be commonly familiar with, but there are others within this chapter that are expanded upon that were only visited for a few episodes. Such as the Tribes of Shadycreek Run or the Diarchy of Uthodurn. Depending on where to tread in these lands, one of these groups will ultimately play a role in how things will go.
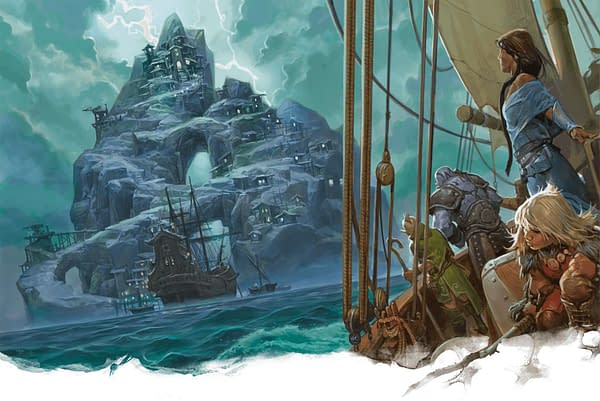
The third chapter, which we got a kick out of it being called the Wildemount Gazetteer, is a tour of the regions you can visit and hold your campaign in. Some heavy with life and society and various adventures, while others being barren wastelands that don't necessarily have a governing body over them. Or at least, one that's respected. Without spoiling everything in this section, it is essentially a DM's tourist guide to each region and what they can find there to plan and plot their campaign around. Whether you want to put people at sea, throw them into a desert, some haunted woods that remain partially uncharted, or just sticking them in a populated city where they'll need to deal with the locals.
Chapter four focuses on the races within this version of Dungeons & Dragons, as they give more of an introspective look at how they operate. Yes, pretty much every race you can find in standard Dungeons & Dragons and their expanded rules guides (as of when this book was written) can be found in Exandria and on the continent of Wildemount. However, some of them have some additional bonuses to their characters added within this guide that you gain specifically if you're making it for this world. Much like the bonuses you get if you use Guildmaster's Guide To Ravnica. They're not game-breaking additions, nor are they placebos for the sake of making your character slightly cooler but only in specific situations. They're little additions here and there made depending on what you choose. It's an awesome little feature in the book that will give players some minor options that might influence their choice of character. The really awesome stuff added in here are the subclasses such as the Echo Knight, a Wizxard with Chronurgy Magic, and one with Graviturgy Magic. You also get a list of Dunamancy spells, which for the uninitiated deal with manipulating time. if you get high enough in character and manage to snag Time Ravage… be prepared for some awesome effects and horrifying consequences.

Chapter five of the book will give the DM something to work with in the form of four pre-made adventures. These are basic starting points in case you don't know exactly where you want to start people off and have decided that you need a little help. The four are called Frozen Sick, Dangerous Designs, Tide of Retribution, and Unwelcomed Spirits. Continuing to keep this review spoiler-free, each one comes with an intro, a story overview, an adventure summary, a setup point, and an official intro for you. So like many starter adventures you find in Dungeons & Dragons. There's great variety in each one as they occur at different locations in the world and don't really crossover with each other (unless you want them to on your own accord). All of them have been set up for characters Level 1-3, so you're essentially given a starting point for an adventure the party can bond over before you move on and continue from there.
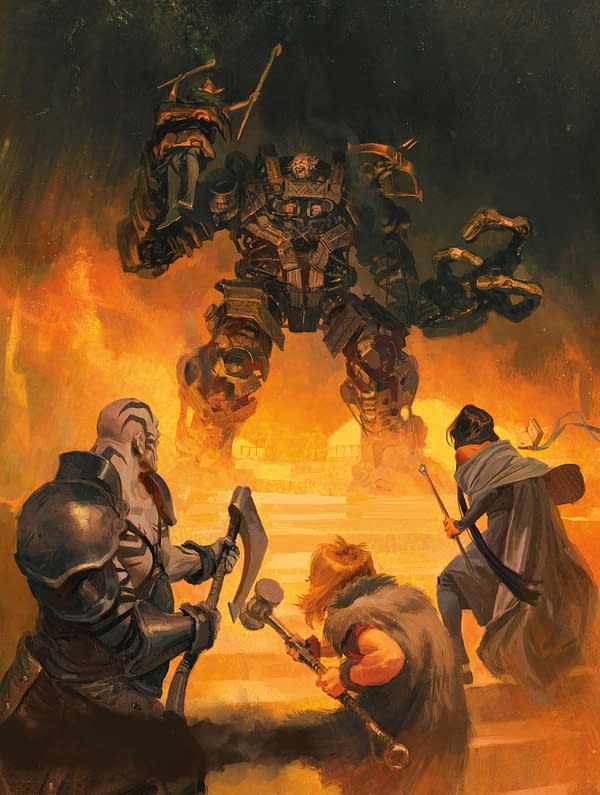
We won't spend a ton of time in Chapter Six, as the short version is that this is the list of treasures you can find on the continent. This is basically a for-DM-eyes-only section of what you can find, which includes an alphabetical guide as well as Vestiges of Divergence and Arms of the Betrayers. So if you really want to mess with your campaign or help make your characters be incredibly powerful, you have the ability to do so. Just remember, if one of them decides to do something stupid and shouts "we're gods" because they now have incredible powers or are armed to the teeth, no amount of treasure or armor can prepare you for what may come.
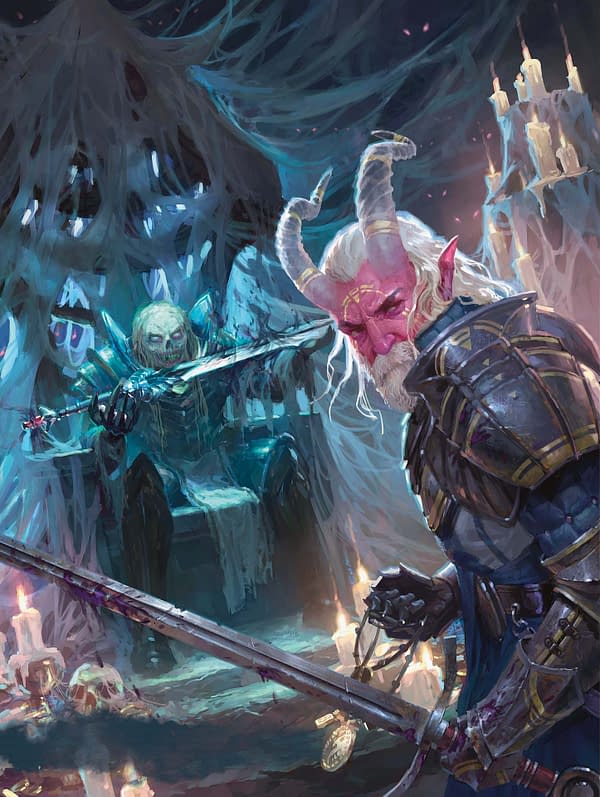
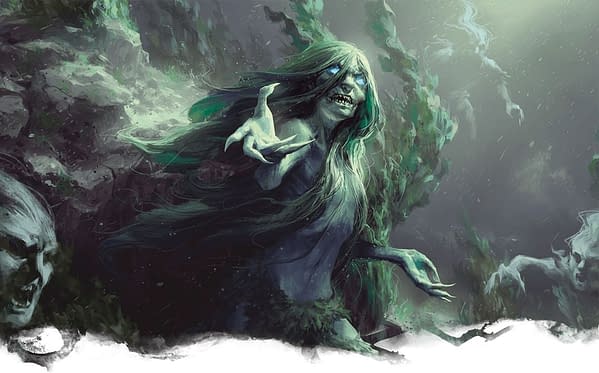
The last chapter of the book, which we'll also briefly touch on to keep spoilers out of it, is the Bestiary. Chapter Seven basically goes over everything the folks at Critical Role could come up with inside the guidelines of Dungeons & Dragons. You have a set of NPCs to choose from within the world, but then there are a number of additional creatures from all across the continent that you have both seen in the series and have yet to come across. A good example of something already seen in the series is the Moorbounders, a large panther-like creature with tusks that can run fast as hell but are super deadly if you're not careful. There's some amazing additions in here that will excite and freak your players out, so choose wisely depending on the region you head into.
Overall, I really enjoyed going through and running a campaign using Dungeons & Dragons: Explorer's Guide To Wildemount. I will admit, as a fan, there are little things here and there that I can nitpick at. For example, Deastok, the hometown of Taryon Darrington from the first campaign, is in Wildemount. However, the Darrington Brigade is a footnote and beyond the city, there isn't much to build on. Which is fine to keep iconic characters like Tary out of it, but it would have been nice to build more on the actual Brigade and how it works. Another example is that we know of Darktow and the "healthy" pirate contingency along the coast, but no mention of rival factions or much else activity at sea, or exploring The Shattered Teeth to the south (which is touched on very briefly). But this is more hardcore fan nitpicking than it is actual criticism of the book, as they've done a fine job making the world easily accessible.
This book is definitely a must-have for fans of the show, although those who wish to be surprised about certain areas may want to not look at it for a while as there are still chances for them to explore more in the game, depending on how long Campaign Two lasts. For average players, this is a chance to have yet another world to explore and build on. Much like Dungeons & Dragons did last year with the Penny Arcade book for Acquisitions Incorporated, or the Eberron book, or even if you just decide to go back in time and visit Greyhawk. It's a new playground full of familiar things you can use from D&D as well as a lot of new canon at your disposal. It would be nice if a companion piece was made down the road to add more to it, but for now, this is an amazing addition to Fifth Edition.


