Posted in: Games, Games Workshop, Miniatures, Tabletop | Tagged: Age of Sigmar, AOS, GW, Ironjawz, Maggotkin, Nurgle, Orruks, Path To Glory, wargame
Age Of Sigmar Path To Glory Report 6: Maggotkin Vs. Orruk Ironjawz
Hello, players and fans of Games Workshop's big fantasy wargame Age of Sigmar! I have been greatly entrenched in a very fun, narratively-driven Path to Glory campaign for the game for the past six weeks. Over the course of the 600-point bracket of this slowly-escalating campaign, I have faced the likes of such armies as Stormcast Eternals, Soulblight Gravelords, and even Seraphon, all yielding major victories for my army, the Maggotkin of Nurgle. This past Sunday at Just Games Rochester, I squared off against a contingent of Ironjaws, a type of army within the greater classification of the Orruk Warclans. How did this game go? Let's take a look!
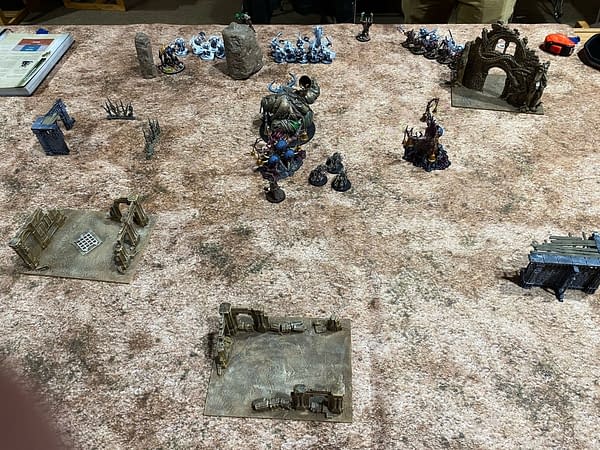
I faced Ryan during this game, whose army looked something like this:
Army Faction: Orruk Warclans– Army Type: Ironjawz– Army Subfaction: Da ChoppasLEADER"Graal Drakka"
– Orruk Megaboss (140)– General– Command Traits: Hulking Brute– Artefacts: The Boss SkewerThorp Da' Strange– Orruk Weirdnob Shaman (90)-Spells: Foot of Gork"Loud" Lork– Orruk Warchanter (115)– Artefacts: Arcane TomeBATTLELINEOrruk Brutes (160)– Brute Choppas,Boss ChoppaSkrug's Scarred– Orruk Brutes (320) (reinforced once)– Jagged Gore-hacka,Boss Klaw & Brute SmashaDa' Fodda– Orruk 'Ardboys (170) (reinforced once)TOTAL POINTS: (995/1000)
Army Faction: Maggotkin of Nurgle– Army Subfaction: Befouling Host– Grand Strategy: Spread Rampant Disease– Triumphs: BloodthirstyLEADERDaisy Hyacinth Sh!tmonger III– Great Unclean One (495)*– General– Command Traits: Pestilent Breath– Doomsday Bell and Plague Flail– Artefacts: The Witherstave– Spells: Fleshy AbundanceFelch– Lord of Blights (150)*– Artefacts: Splithorn HelmBATTLELINEThe Stench– Putrid Blightkings (250)*– Veteran Ability: Fleet of Foot– Veteran Ability: Unnatural RegenerationOTHERNurglings (105)*CORE BATTALIONS:*Battle RegimentTOTAL POINTS: (1000/1000)
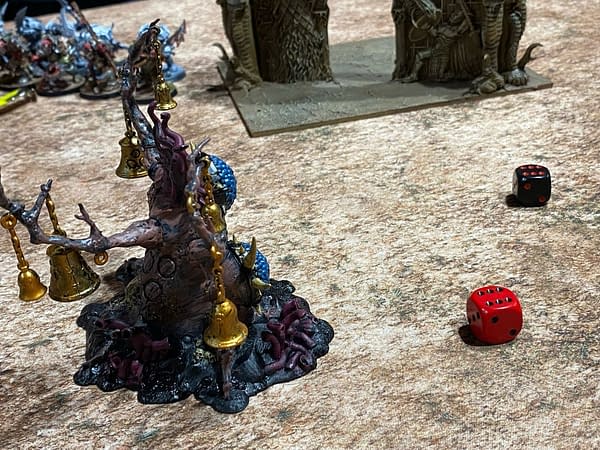
Well now. The Brutes get there and immediately deal a metric ton of damage to Daisy, putting her within an inch of her profane life, but thankfully still alive. However, nothing else got through with their charge rolls, leaving Daisy quite alright for the time being. This also meant the Megaboss's use of The Finest Hour was for naught. Therefore, at this time, Daisy walloped the Brutes hard. The reinforced unit of ten 0Brutes, demoralized and bruised or worse, finally died to disease rolls.
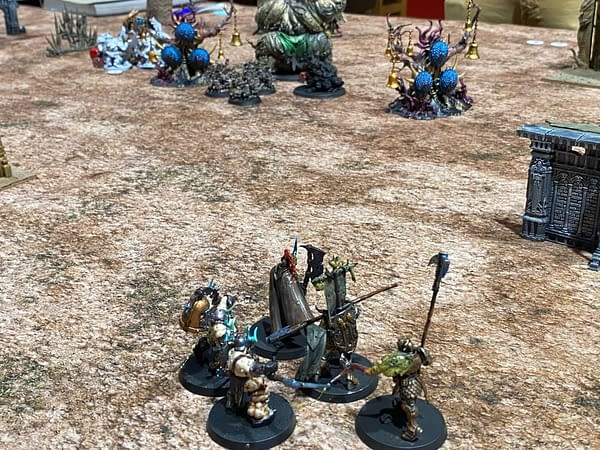
It was about this time that Ryan had a sudden realization that he should be playing to his objectives. He threw his 'Ardboyz into Daisy and immediately ran his last five Brutes and his Megaboss towards the Feculent Gnarlmaw watchtower (the one seen to the left in the image above), in order to attempt to ransack it, which would give him the edge in this battle's objective. Seeing this, I spent a few contagion points that had accrued over the past two rounds to summon up a Beast of Nurgle near the watchtower and bolstered the Nurglings' wound count with Daisy's Fleshy Abundance spell, making them count as double the model count that they actually would be otherwise. Overall, he managed one turn of control over the watchtower, which was not enough to ransack.
In the meantime, my Putrid Blightkings were just watching, although had they been in the fight they'd be putting in a lot more work than they did. However, while all of this was occurring, Daisy proved a real star of this battle by killing off various units very quickly. When it came down to the wire and Ryan realized again what needed to be done, I had used Daisy to kill most of his Orruks, leaving a few of the five-block unit of Brutes for Felch to take down and one lone Weirdnob Shaman left to tell the tale.
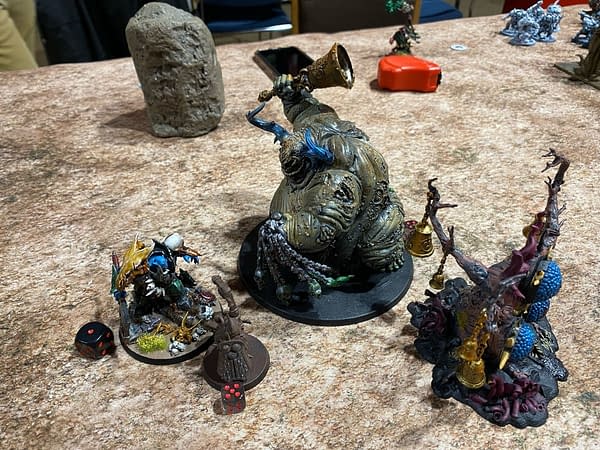
Following the Battle Round 3 slaying of Ryan's Megaboss warlord, Graal Drakka, Ryan declared a tactical withdrawal. This play, very valid within Path To Glory, would allow him to cut the magnitude of his losses instead of risk losing his Shaman. This also meant a Major Victory for me, my sixth thus far out of six games!
In the Aftermath Phase, Ryan lost his Warchanter to an injury roll of 3, which along with a 2 would spell instant death of a hero. Re-rolling that 3 for a glory point, his second roll as a 2. Ouch. I am not a huge fan of that outcome, but war is war and that's just how these things go sometimes, sadly. Furthermore, his 'Ardboyz suffered three casualty points, meaning there would be three less on the table for him next game.
Meanwhile, I went up to 44 Glory Points with my Major Victory and my completed quest, so I upgraded my Stronghold to its next level using 30 of them. Exploration yielded a Wellspring, but I did not wish to annex it so it fell by the wayside for me. I had zero casualties and that felt like nothing short of miraculous. I'll be taking the Master Magical Lore quest so that I can get more spells for Daisy within this Age of Sigmar campaign. I think she's earned it.
How are you liking these Path To Glory battle reports? Are they enticing you to start or join a campaign within Age of Sigmar? Let us know your thoughts in the comments below!


